


Previous
OverviewNext
AppearanceConfigure the fundamental aspects of your workspace including space identity, enabled features, and administrative operations.
General Settings contains the core configuration options that define your workspace. These settings affect how your workspace appears to members and which features are available.
The Basic Information section controls your workspace identity.
The unique identifier for your workspace, used in URLs and references.
| Property | Description |
|---|---|
| Format | Alphanumeric, lowercase, hyphens allowed |
| Length | Up to 50 characters |
| Editable | No (auto-generated from space name) |
The Space Code appears in your workspace URL: app.omada.ws/{space-code}/
The code is automatically generated from your space name when you create the workspace. If a code collision occurs, a random 4-character suffix is added to ensure uniqueness.
The display name shown throughout the application.
| Property | Description |
|---|---|
| Format | Any text |
| Length | 1-100 characters |
| Editable | Yes |
To change the space name:
You can identify your workspace with either an icon or a custom logo.
| Property | Recommendation |
|---|---|
| Icon | Choose from available icon names (e.g., "Building2", "Factory") |
| Logo | Custom uploaded image URL (takes precedence over icon) |
To set an icon:
If neither an icon nor logo is set, the workspace displays the first two letters of the Space Code.
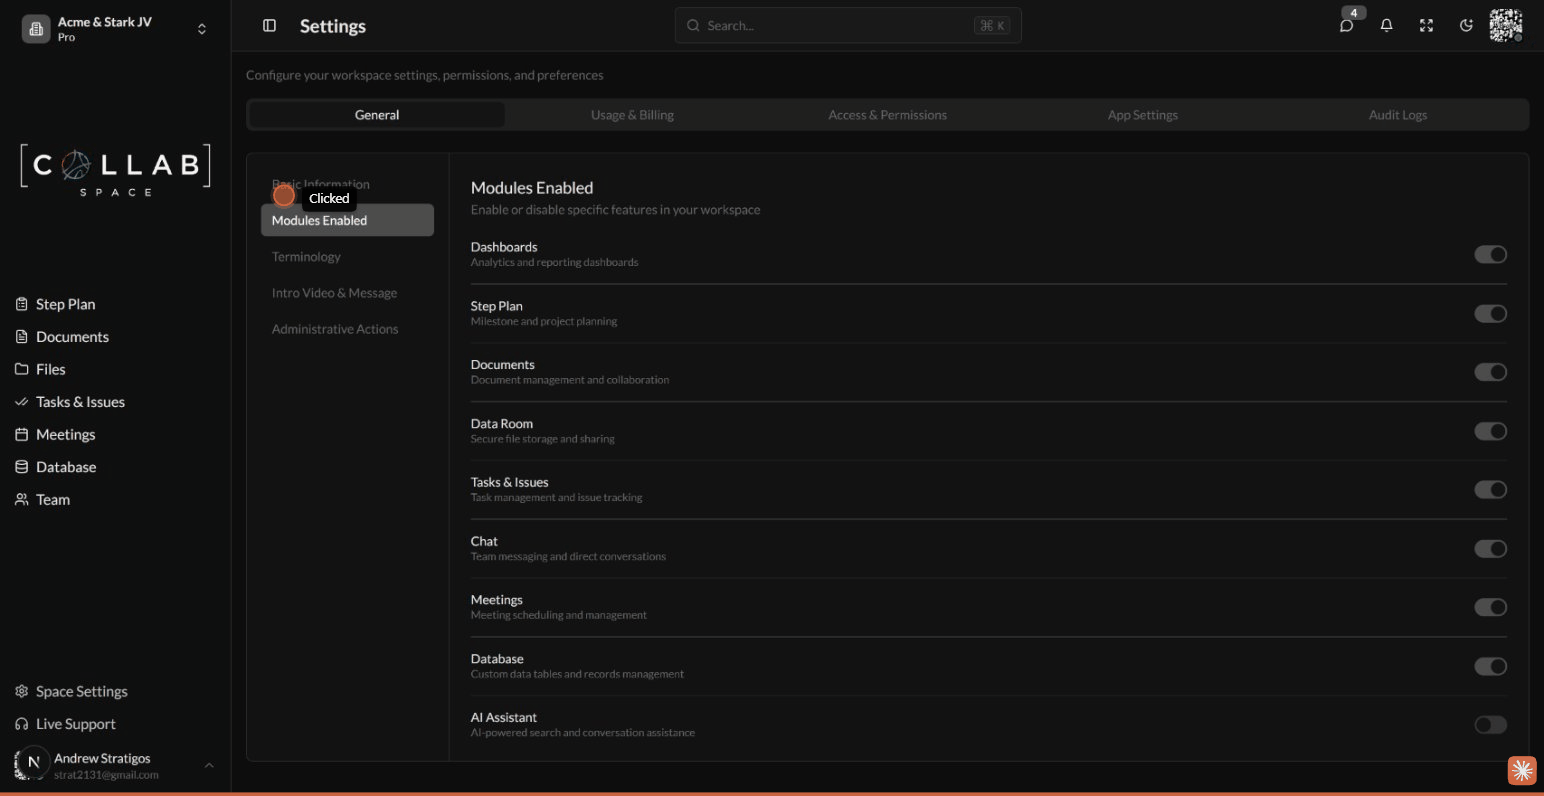
Control which features are available in your workspace.
| Module | Description | Default |
|---|---|---|
| Dashboards | Analytics and reporting dashboards | Enabled |
| Projects | Project plan and milestone planning | Enabled |
| Documents | Document management and collaboration | Enabled |
| Tasks & Issues | Task management and issue tracking | Enabled |
| Chat | Team messaging and direct conversations | Enabled |
| Meetings | Meeting scheduling and management | Pro plan |
| Database | Custom data tables and records | Pro plan |
| AI Assistant | AI-powered search and conversation | Pro plan |
Meetings, Database, and AI Assistant require a Pro (or higher) plan — on the Free plan they show a Pro badge and their toggles are disabled.
To enable or disable a module:
Disabled modules are hidden from the navigation and inaccessible to all workspace members.
Configure onboarding content shown to new members when they first access the workspace.
| Option | Description |
|---|---|
| None | No video shown |
| Default | Platform introduction video |
| Custom | Upload your own video |
To set a custom intro video:
Add a custom welcome message displayed alongside the intro video.
To set an introduction message:
Perform administrative operations on your workspace.
| Action | Description | Reversible |
|---|---|---|
| Backup Space | Create a downloadable backup | N/A |
| Convert to Template | Save workspace as reusable template | N/A |
| Archive Space | Temporarily disable the workspace | Yes |
| Delete Space | Permanently remove the workspace | No |
Create a complete backup of your workspace data.
To back up your space:
Permanently delete the workspace and all associated data.
Warning: This action cannot be undone. All issues, documents, files, and member data will be permanently deleted.
To delete a space: